Reinforcing your ICF walls
Reinforcing steel (rebar) strengthens concrete walls to help minimize cracking and buckling under load due to backfill, wind, and various other loads. Rebar and concrete have the same expansion and contraction rate caused by temperature changes; while concrete is very strong under compressive loads it lacks strength to resist tensile forces, which is why rebar is necessary as it has the opposite strengths and weaknesses.
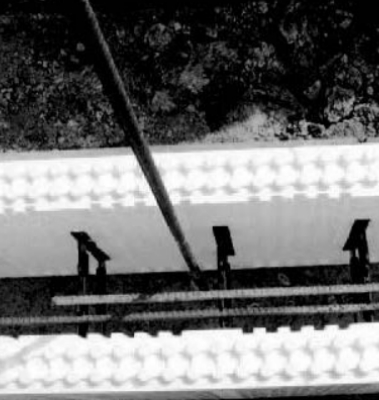
A non-contact splice is typically the splice of choice in ICF walls except in heavily reinforced walls or in cases of narrow wall cavities.
Reinforcement around windows and doors needs to be installed as required. Always check ICF manufacture engineer specs to ensure proper size, amount, and location of rebar is being placed.
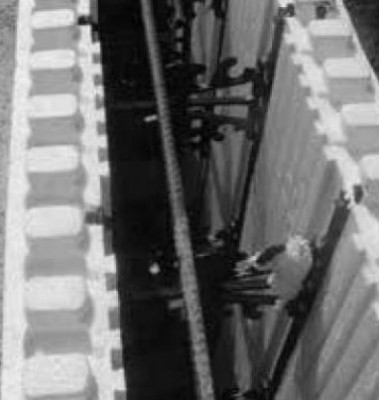
Reinforcing steel must meet the requirements of ASTM A615, ASTM A996, or ASTM A706 for low-alloy steel. Minimum of Grade 40 (300MPa).
It is the responsibility of the installer to verify rebar specifications with local building codes and engineer specs.
The rebar sizes which are most commonly used in residential concrete construction are: 10mm and 15mm. Both horizontal rebar and vertical rebar is used within the concrete core of ICF builds.
Horizontal reinforcement
STEP 1
Horizontal rebar, sized as required, should be placed in the wall as each course is installed.
STEP 2
Secure the rebar away from door and window openings by 2” (51mm).
STEP 3
Maintain the proper overlap splice length of 24” (610mm) lap length, or as otherwise specified when placing horizontal rebar. A contact lap splice is recommended, as it will reduce the areas for concrete to become dammed up, which would result in improper flow and placement during the pour.
STEP 4
The groove pattern on most ICF webs allow for horizontal rebar to be alternated in location, row by row (typically inside and middle respectively). This allows ideal support and positioning for vertical steel. Vertical rebar diameter will dictate horizontal offset from course to course.
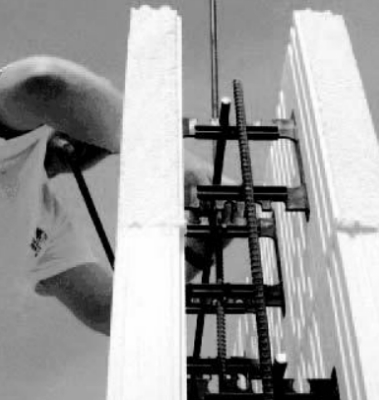
Vertical reinforcement
STEP 1
Install vertical rebar, as required, after all courses and horizontal reinforcement have been placed.
STEP 2
Place vertical reinforcement under windows, if required.
STEP 3
Place vertical rebar on each side of every opening as required.
STEP 4
Cold joints between upper floor walls and lower floor walls need to be reinforced with a lap length of at least 24” (610 mm), unless otherwise specified. It is the responsibility of the installer to verify table rebar specifications to comply with local building codes and engineer specs.
Lintels
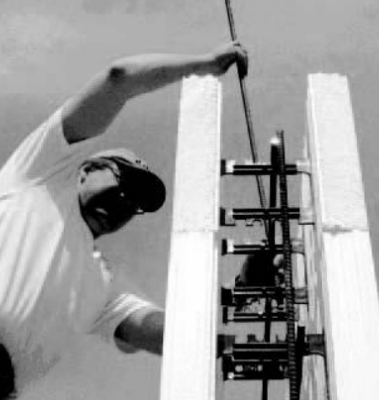
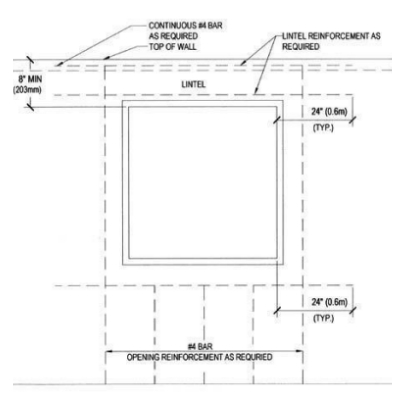
Appropriate lintel rebar should be placed in the proper sequence directly above doors and windowsto carry loads over these openings. In many cases rebar is also required to be placed below windows. Be sure to consult engineer specs when placing reinforcement for windows and doors.
STEP 1
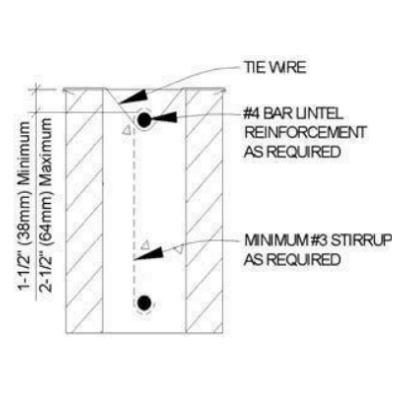
Before placing ICF forms over top of door or window bucks, rest the lower lintel bar on buck material. This provides easier access to rebar for fast lintel steel installs. Check to make sure the lower lintel steel has enough clearance from buck material. There should be 1-1/2” to 2-1/2” (38 to 64 mm) from buck material.
STEP 2
Install a row of forms across the top of the buck. This row may not be a full block height.
STEP 3
Install upper lintel rebar.
STEP 4
Use stirrups to hang the lower lintel rebar from the upper lintel steel, making sure the bottom rebar is 1-1/2 to 2-1/2 inches (38 to 64 mm) above the buck material.
Consistent stirrup type (S-stirrup or C-stirrup) and dimensions will maximize efficiency. The top and bottom lintel rebar must extend at least 24” (610mm) beyond both sides of window and door openings.
